Find the media you want to use
Open Assets in the relevant workspace. Use its views and collections to find your generated results and uploaded files. Check the file itself when several results have similar thumbnails.
The media available as a reference depends on the operation and model. A file can be a valid asset without being a supported input for every generation request.
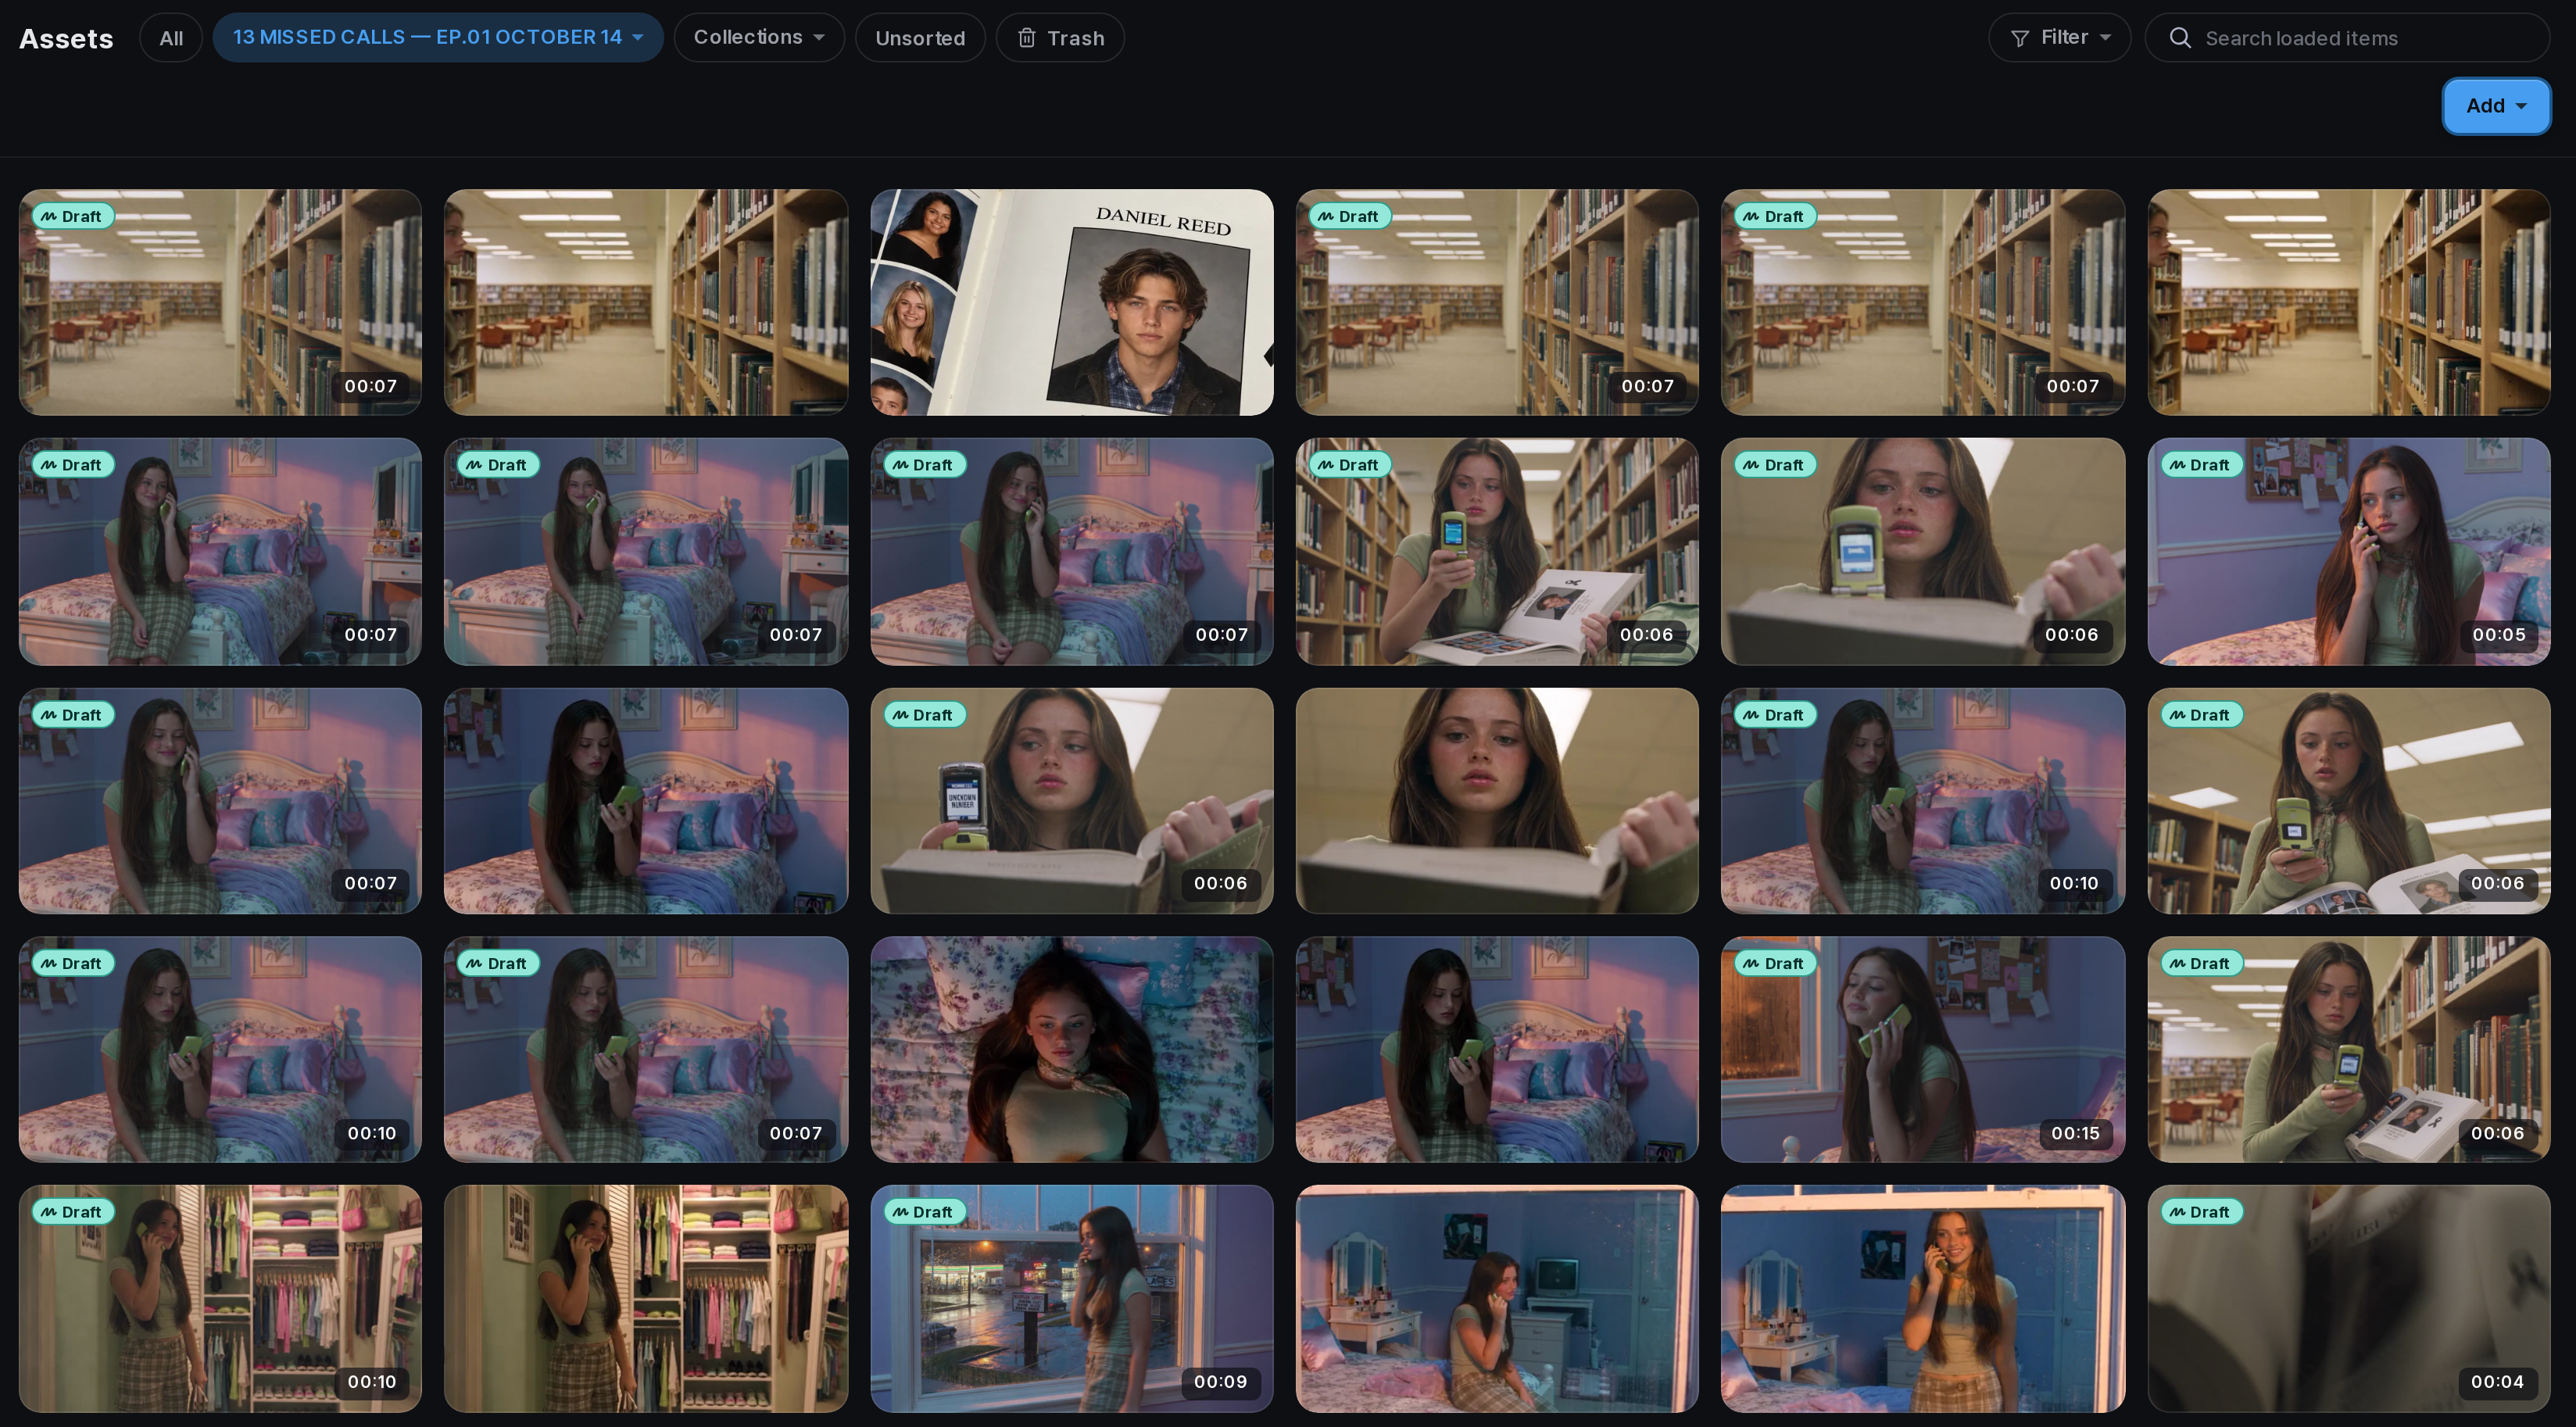
Apply the file in the editor
Open the editor library
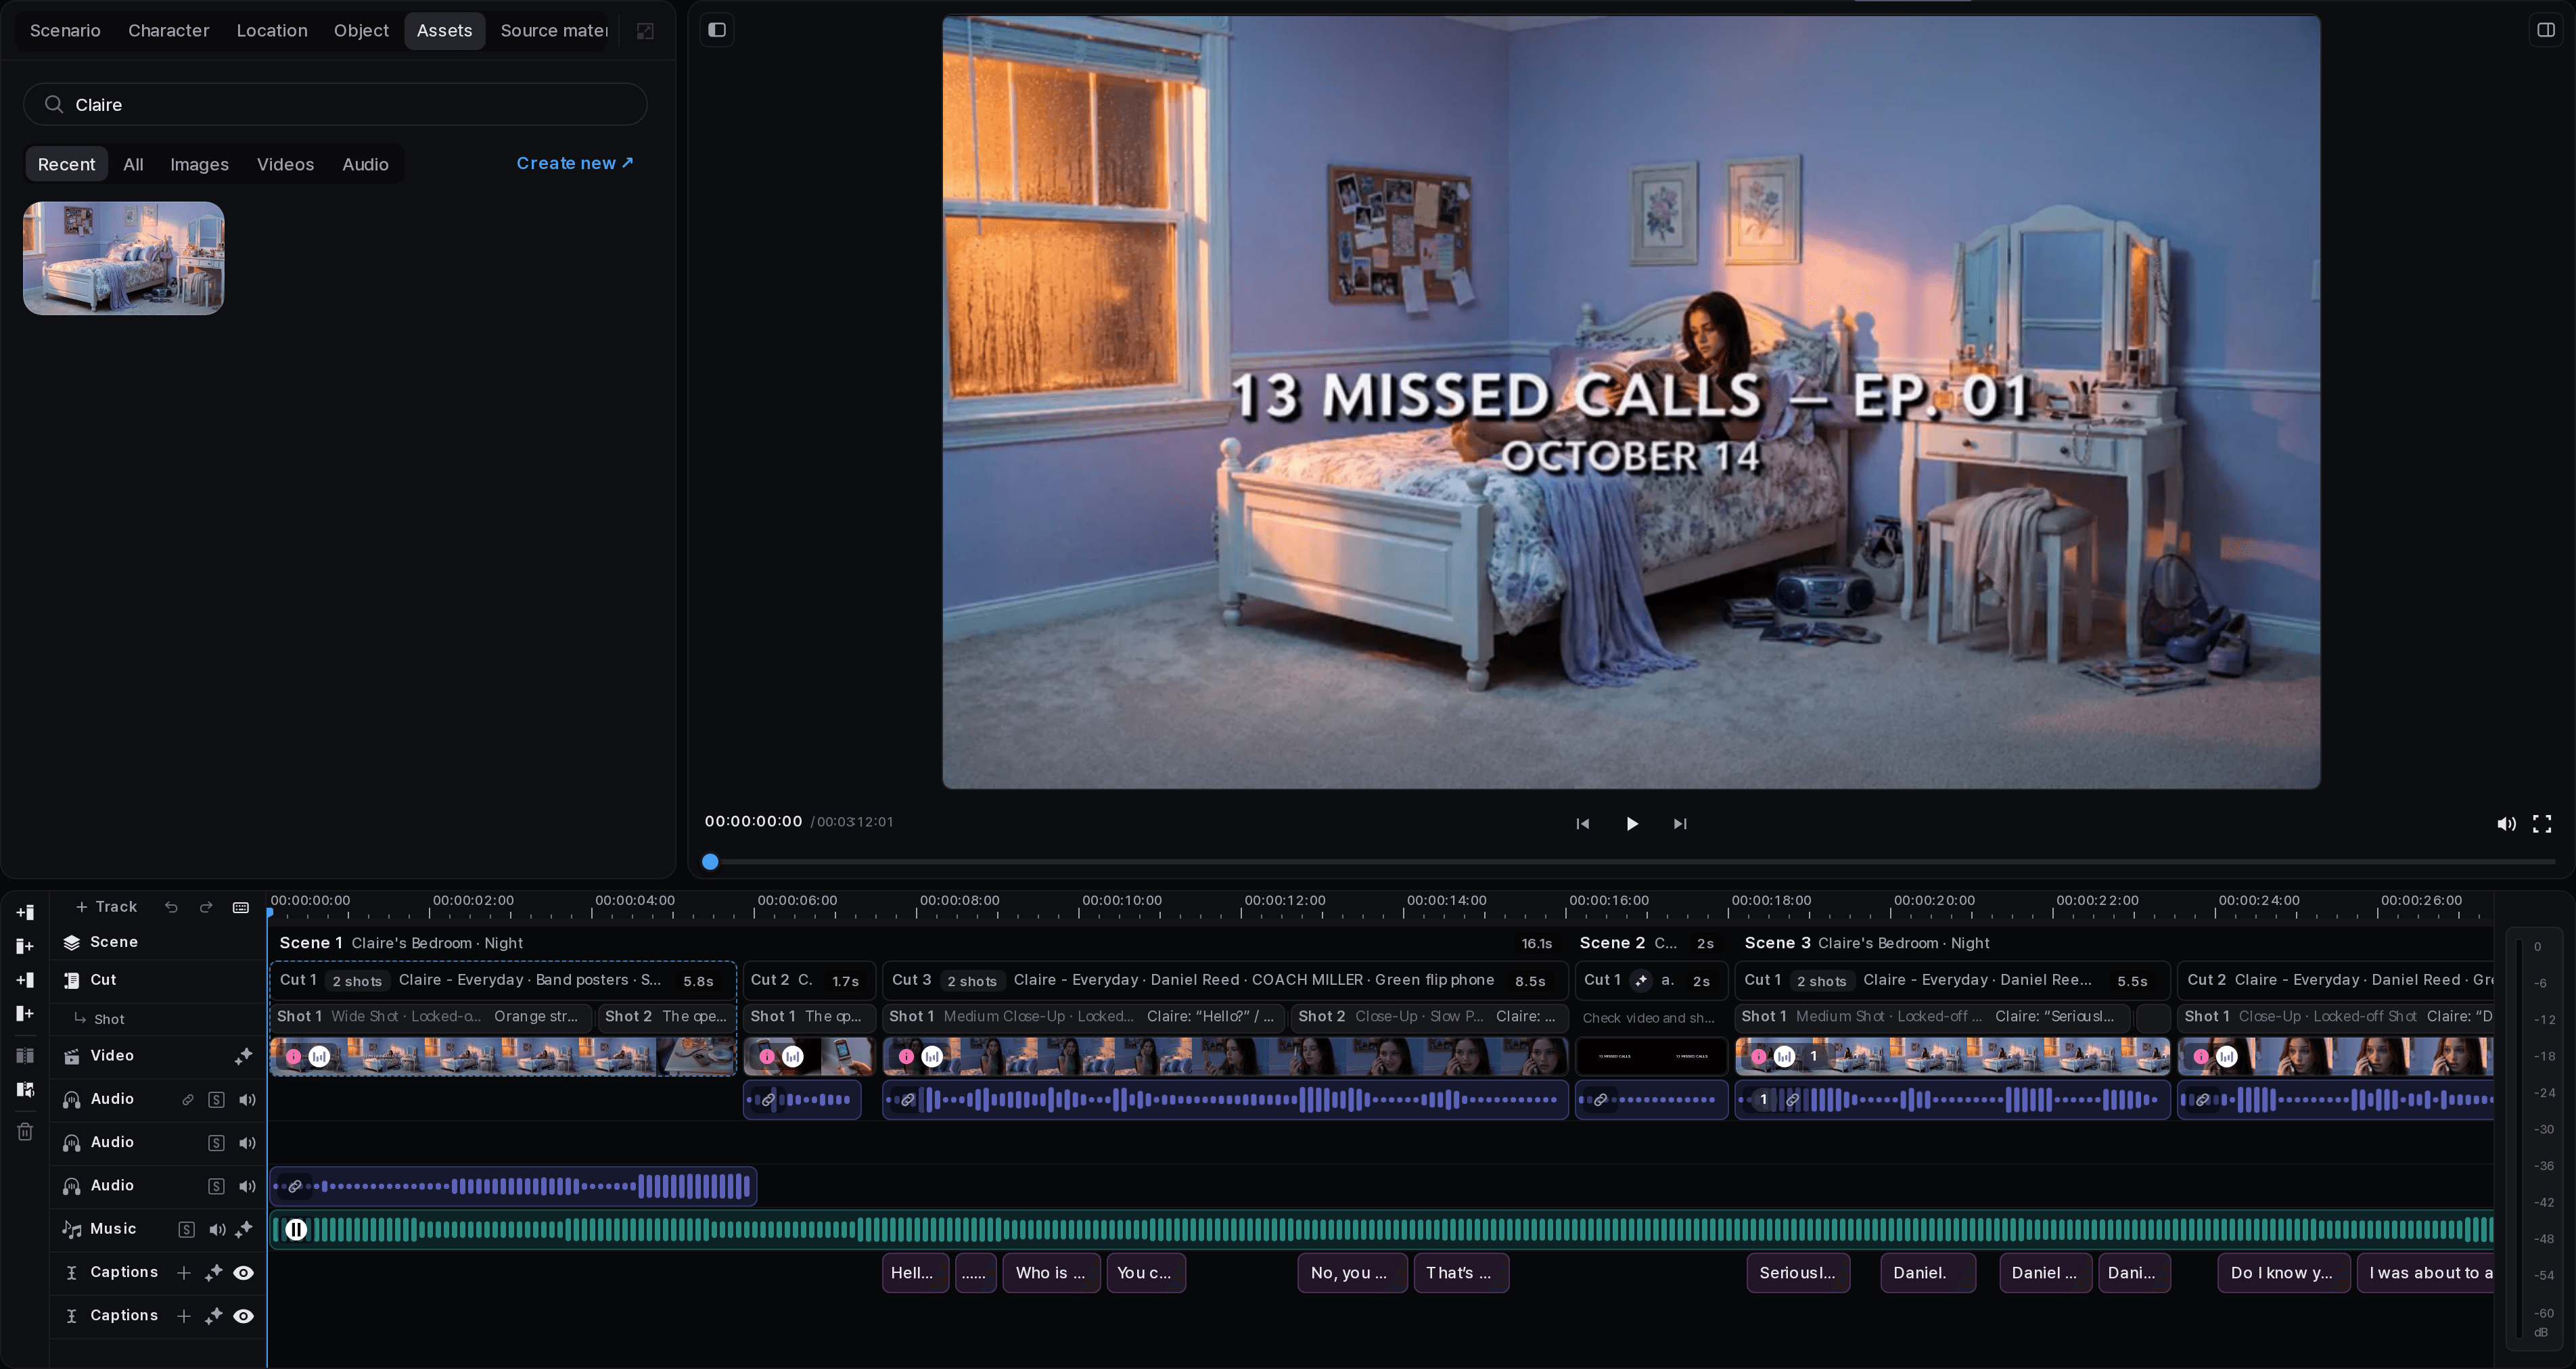
Find the image, video, or audio you want in the current project's editing context.
Choose the destination
For picture media, check whether you are inserting it or replacing a cut's media. For audio, identify the intended track.
Place the media
Drag or select it using the available controls, then confirm it appears in the expected place.
Play the edited section
Check timing, crop, and sound. Being listed in Assets is not the same as being used in the timeline.
Check before deleting
Distinguish removing a file from a collection, deleting a generation record, and moving an asset to the trash. Read the action shown rather than treating them as the same operation.
Keep the source files you still need for an edit or editing export. Review the trash before emptying it; do not rely on a recovery option being available afterward.